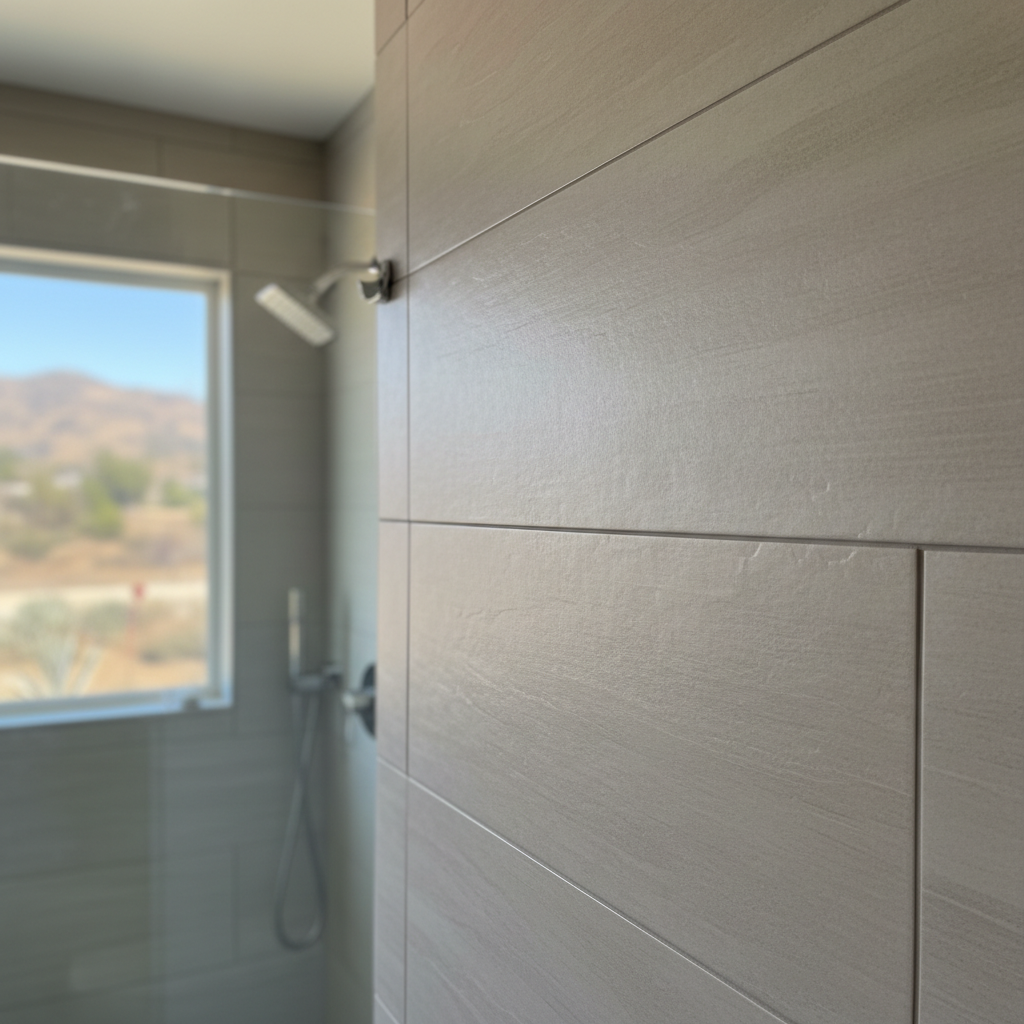
Thinking About a New Shower? Here's the Deal.
So, you're staring at that old shower in your Carson home and thinking, "Enough is enough." Maybe it's cracked, or there's that stubborn mold you just can't get rid of, or maybe it just looks plain tired. Swapping out your shower can totally change how your bathroom looks and feels, and it can even bump up your home's value. But hold on a minute. Before you jump in, you really need a solid plan. I've watched plenty of homeowners try to tackle this alone, and while some parts are absolutely fine for DIY, others? Well, those are usually best left to the pros. Let's walk through everything you need to know, from the very beginning to the sparkling finish.
Before You Start: Planning and Permits
First things first: what kind of shower are you actually putting in? Are you just replacing an old fiberglass unit with a shiny new one, or are you dreaming of a custom-tiled paradise? This choice makes a huge difference, especially when it comes to permits and what you can realistically do yourself.
You'll definitely need a permit if you're moving or adding plumbing fixtures, messing with supply or drain lines, or making any structural changes. Even turning a tub into a shower usually needs a permit because it involves changing the drain and often building a new shower pan. Here in Carson, the Building and Safety Division – part of the Community Development Department – handles all this, and you can apply online using their Civic Access Portal. Trust me on this one, you really don't want to skip it. Unpermitted work can lead to massive headaches and expensive fixes down the road, believe me.
As for the design, really think about what you want. Tile? Solid surface? What kind of shower pan? Consider the layout, too. If you're moving your shower's spot, that means relocating water supply and drainage lines, and that can be the priciest part of a bathroom remodel. Oh, and check your subfloor. Especially in some of the older homes around Carson, like those in the Dominguez Hills area, you might find rot or weakness that needs shoring up before you put in a new, heavy shower.
The Demolition and Rough-In: Where DIY Gets Tricky
Alright, you've got your plan and your permit. Time to rip out the old stuff. This is where many homeowners feel pretty good about themselves, and for good reason – demolition can be surprisingly satisfying! You can absolutely handle taking out the old shower door, trim, fixtures, and even the wall panels. Just make sure you turn off the water supply first, okay?
But once you get past the surface, things get complicated fast. A shower replacement isn't just about pretty tiles; it's really a waterproofing job with tile on top. The actual work, the stuff that makes a shower last for years, happens behind the walls. This includes the pan, the membrane, and that all-important flood test.
Here's what I tell folks: if you're super comfortable with complex plumbing – things like routing water lines, installing drain assemblies, and setting up proper venting – then maybe you can tackle some of the rough-in. But honestly, most people aren't. One tiny mistake in plumbing or waterproofing can lead to thousands in water damage, mold, and structural problems. That's why I strongly suggest bringing in a licensed plumber or a general contractor for the plumbing and waterproofing stages. They know the local building codes inside and out, especially the specific rules for things like anti-scald valves and proper water supply here in California.
Getting the shower pan installed correctly is absolutely crucial. It needs to slope just right to send water to the drain. Whether it's a pre-made base or a custom mud pan, getting this wrong means standing water and future headaches. Waterproofing the walls behind the tile is another non-negotiable. You'll need cement board with thinset and tape, plus at least two coats of a paint-on waterproofing membrane. This isn't just about stopping leaks; it's about preventing mold and structural decay.
If you're still set on doing more yourself, consider doing the demolition and then having a pro handle the plumbing, pan, and waterproofing. Once that's solid, you could take on tiling or painting if you've got the skills and the patience for detail. But remember, oddly cut tiles or fixtures that aren't level stick out like a sore thumb.
The Finish Line: Installation and Cleanup
Once the rough-in passes inspection and gets approved, you're ready for the finishing touches. This is where your vision really comes to life. Installing tiles, grouting, and putting in the new showerhead and fixtures are all part of it. If you're comfortable with these tasks, go for it. Just make sure you're using the right tools and taking your time.
After everything's installed, do a really thorough cleanup. Test everything: the water flow, the drain, and check for any leaks. We always do a final inspection to make sure everything's working perfectly and draining as it should. And then, don't forget to enjoy your new shower!
Look, I've been in this business a long time with Carson Bathroom Solutions. I've seen the good, the bad, and the ugly. While saving money on labor by doing some DIY is tempting, the potential cost of fixing mistakes in a shower replacement can far outweigh those initial savings. Water damage is no joke, especially with our occasional heavy rains and how moisture can get trapped in older homes. If you're unsure about any step, especially the plumbing or waterproofing, call a professional. It's an investment in your home's long-term health and, frankly, your peace of mind.